I love using free iPad apps in my classroom. Who doesn’t? But with free apps comes ads – ads that neither my students nor I have any control over. Being a digital citizen means knowing how to deal with it, but how do you explain it to 8-year-olds? And their parents?
I found this worked well. Below is the email I sent out to parents explaining what I did with my 3rd graders:
The class had a chat today about Digital Citizenship and where iPad apps come from.
I started explaining that apps are programmed by real people. Making apps is their job, and they need to get paid. And they do, usually through one of three ways.
- Some apps cost money. Those apps work really well and don’t have any ads (commercials). The money we pay to purchase the app goes to the developers. These include the Explain Everything and Drawing Pad apps we use in the classroom.
- Some apps are free but have limited features. Angry Birds is a great example of this. You can get the free version, but it only has a few levels. The idea is if you like the game you’ll purchase the full, paid, version. The developer gets money when we buy the full version.
- Other apps are free but come with advertisements. Rather than us paying for the app, another company pays the developer for screen space, forcing us to see their ads. I compared it to TV. Sometimes TV is free (network broadcast), but advertising pays for it. It’s the same with some free apps.
We use all three kinds of apps, though we spent most of our time talking about the last kind. I explained the ads are like commercials in that we don’t have to watch them. When commercials come on when we’re watching TV we can mute them, or talk to someone, or even leave the room. We are in control.
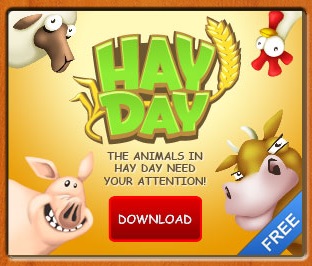
The same is true with app ads. We can ignore them. The catch is, as end users, we don’t get to control what the ads are. So far we’ve seen ads for games, juice, and… local singles.


Fortunately, that last one is only text, no images. Also fortunately, developers know that users rate and comment on apps, and if an app designed for kids has ads that are truly inappropriate, they will hear about it in the comments of the app store (and developers can’t delete those comments).
I reiterated that we can ignore the ads and that if kids ever come across something they have questions about or feel uncomfortable about that they should find an adult.
Exciting and innovative things happen when we use technology to expand the walls of the school and where learning can occur. We can also bump into things we weren’t looking for. We have good internet filters in Arlington, though no filter is 100% perfect for all grades all the time. So, part of being a good Digital Citizen means having an internal filter, understanding how it all works, and knowing how to behave in a safe way. And knowing that if you find something that doesn’t sit right that students are in a building full of caring adults who are more than willing to help.
Parent response was very positive, ranging from “Thanks, glad you’re on top of this!” to “It is good to know that you are worrying about these things and that our 3rd graders are not being exposed to bad stuff in the schools.”
Teaching is messy. And when you add the iPad, or any other hyper-connected tool, it can get really messy. The key is it get out ahead of it, and be honest (with kids and parents). As educators we are doing new and innovative things every day. Things aren’t always going to go as planned. Just make sure to roll with it, and make sure everyone knows what’s going on.
photo credit: AMagill, Personal Income via photopin cc
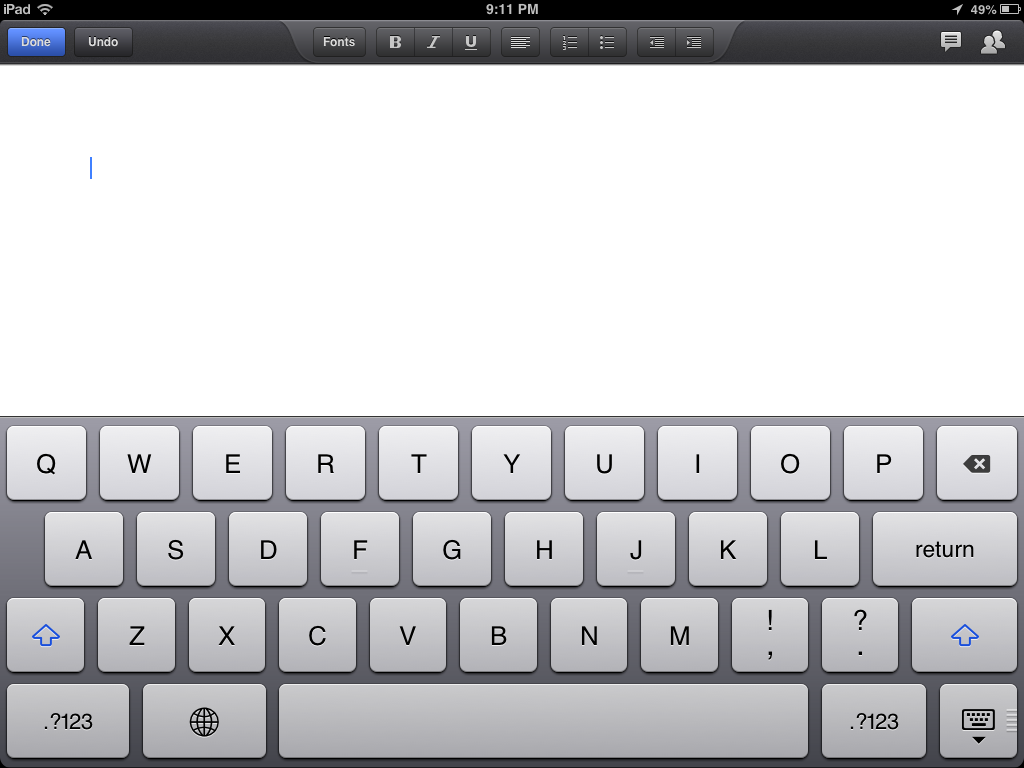
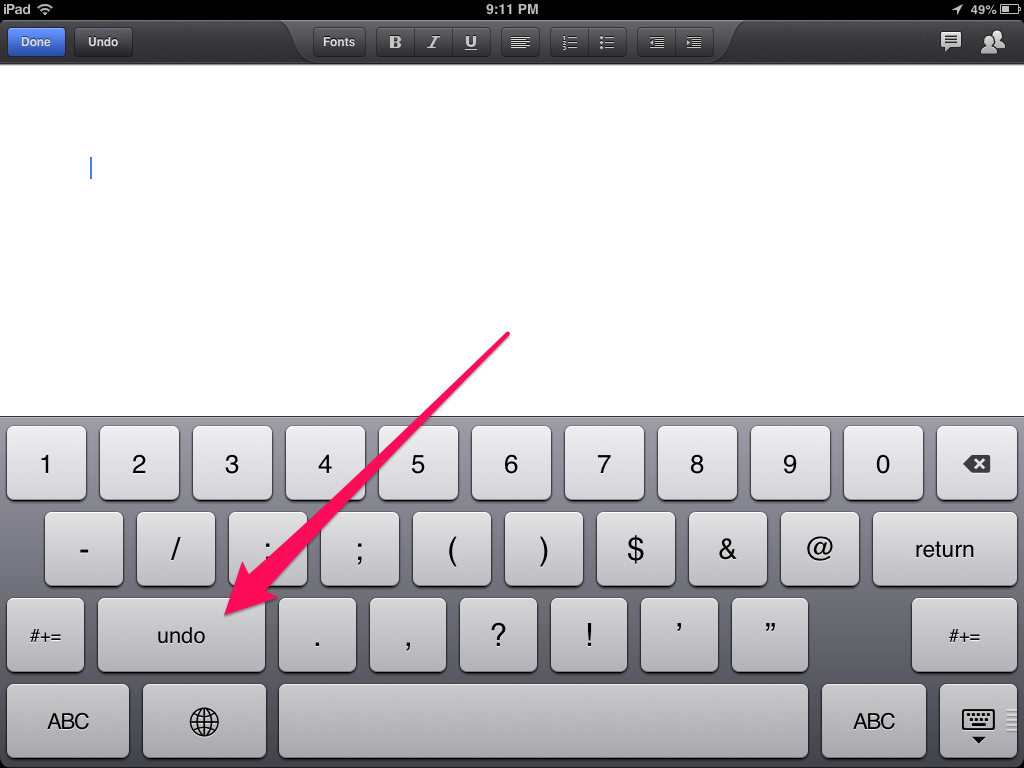
 It happens. iPads freeze up and become completely unresponsive. The screen doesn’t respond; the home button doesn’t work; the sleep button doesn’t work; holding down the sleep button to power down doesn’t work. Now what?


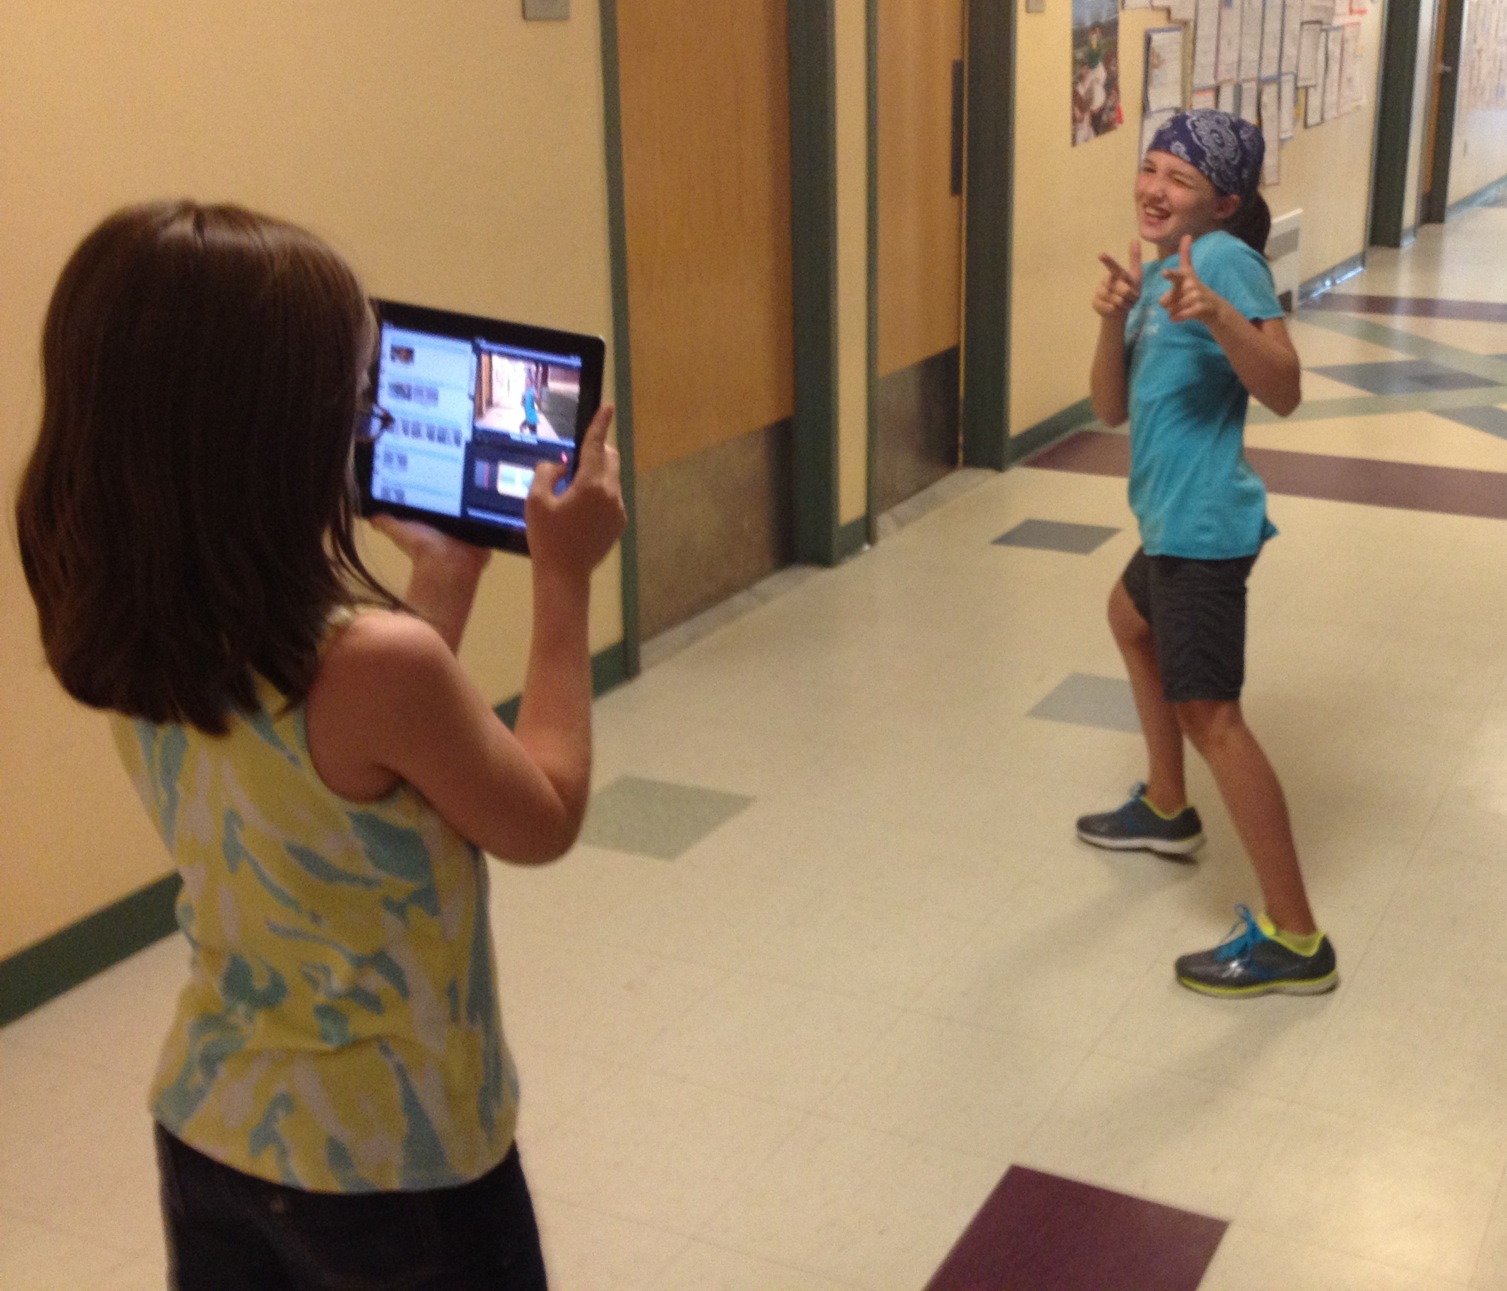
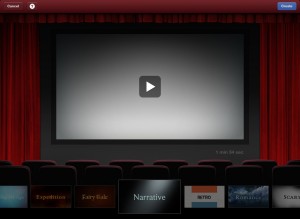 We started by talking about trailers and what they were for. All my students had seen them on TV and in the theaters. And a few even knew they were called trailers. From there we quickly previewed the trailer themes in iMovie. We then got the iPads out and kids got to spend more time looking at each trailer theme to choose the on that best fit them. I did have to spend some time explaining that the music and the text font were all they were going to keep; the content of the trailer would be completely rewritten by them.