UPDATE: Currently (10/31/2014) this does not work in the new Google Drive. The new Drive won’t allow you to open a video in the Google Drive viewer. You’ll need to revert back to the old Google Drive to get the embed code (Step 2 below). To get back the old Drive, click on the gear icon in the upper right corner of the Drive screen and select “Leave the new Drive.”
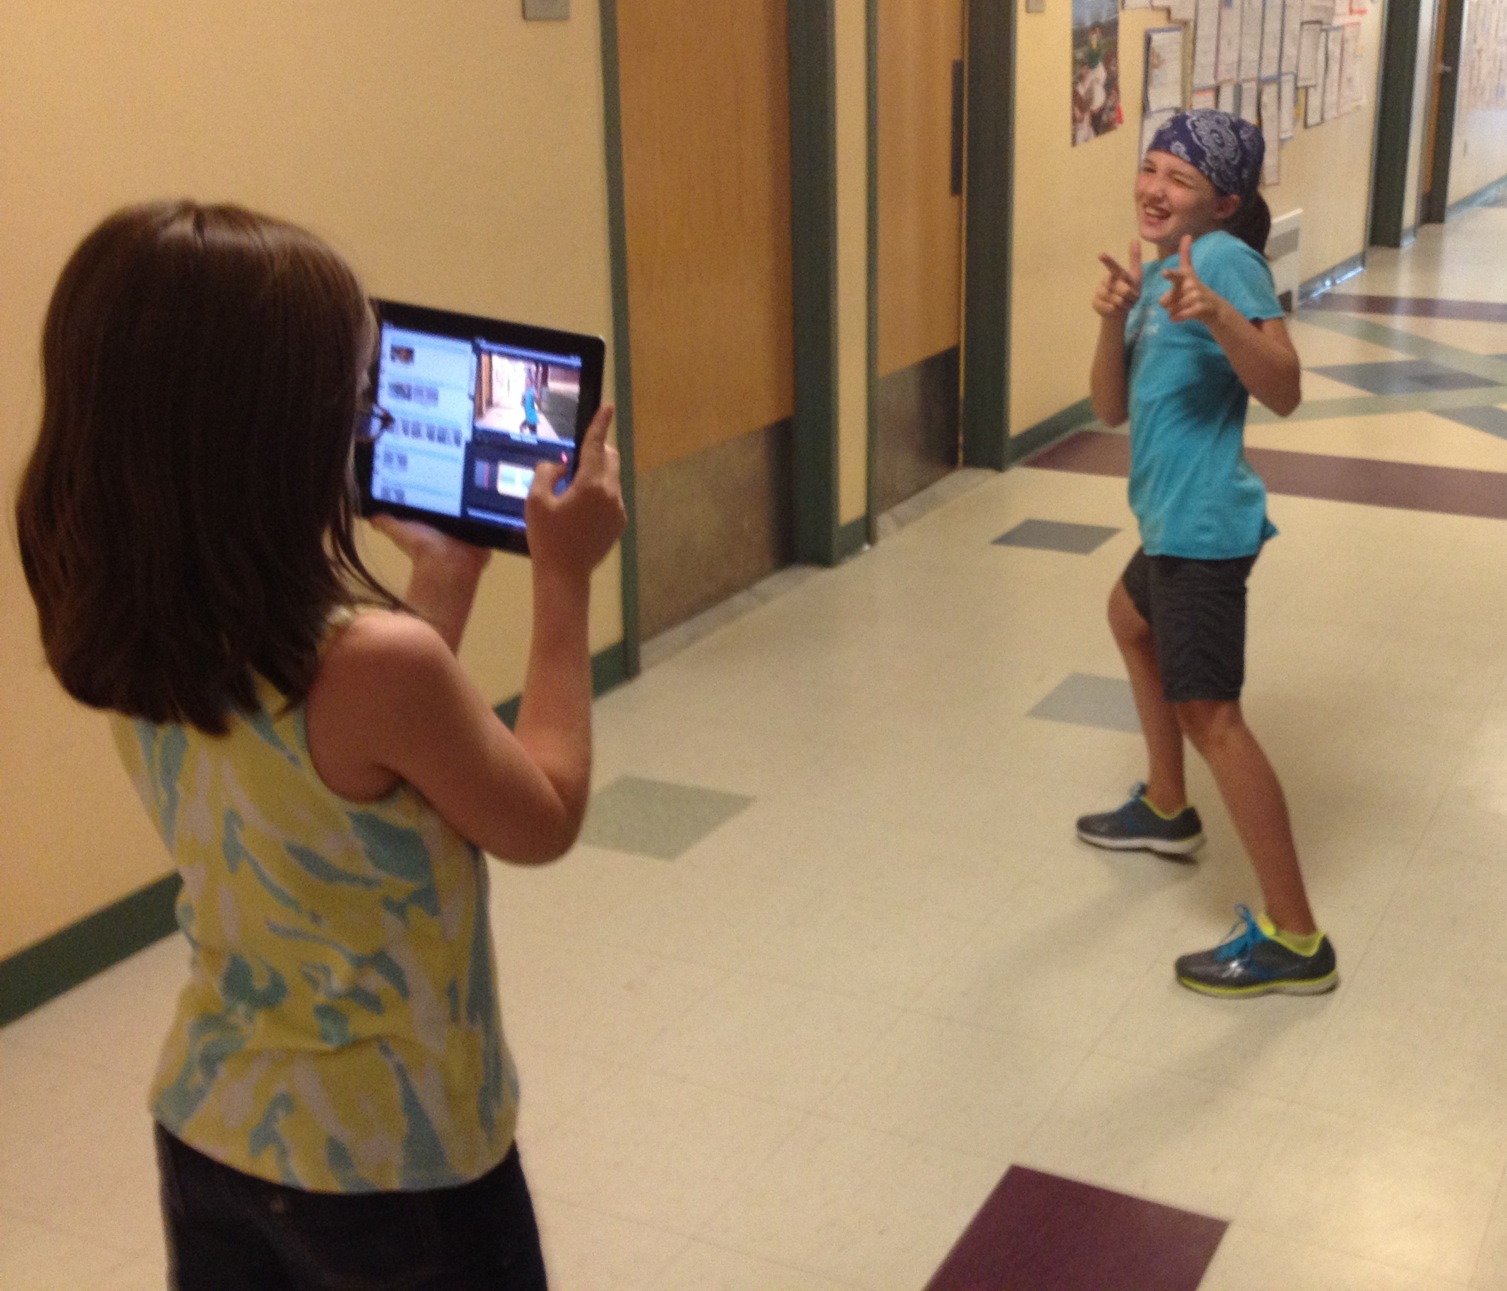
More and more teachers these days are blogging as a way to communicate with parents and the community about what they are up to. And more and more teachers are using handheld devices (smartphones and tablets) to record what happens in their classroom. Embedding from YouTube is a great way to share videos, but what if you don’t want to (or can’t) use YouTube? There’s another way:
You’ll need to:
- Store the video in Google Drive
- Get the embed code
- Embed the video in Blogger
Step 1: Storing a Video in Google Drive
Storing videos to share in your Google Drive is all well and good, but you have to make sure you don’t (ever, ever) delete them or they’ll disappear from your blog. Because of this, I suggest creating a folder for blog files. Be sure to set the Sharing settings so others can see the contents of that folder.
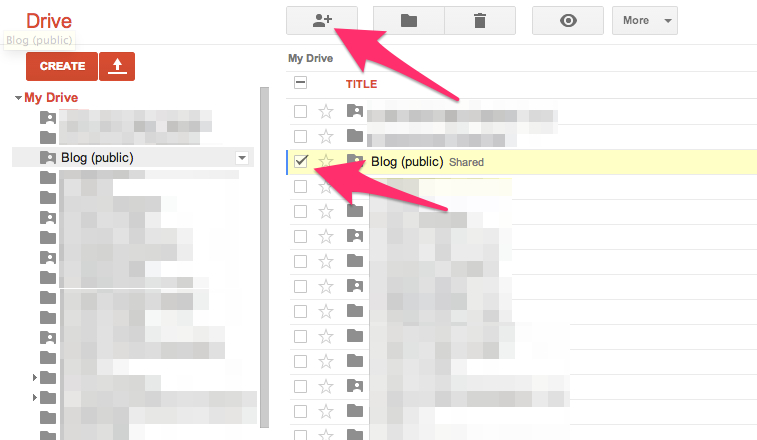
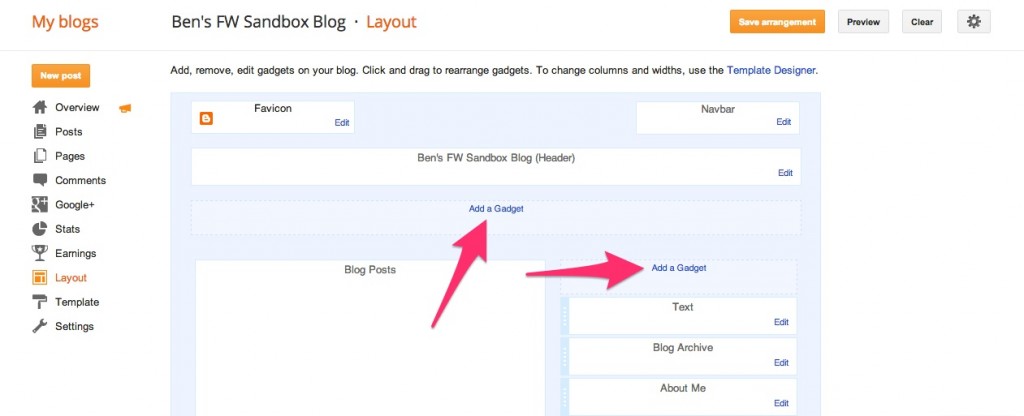
How? Once you’ve created your blog folder, select it and click the sharing button.
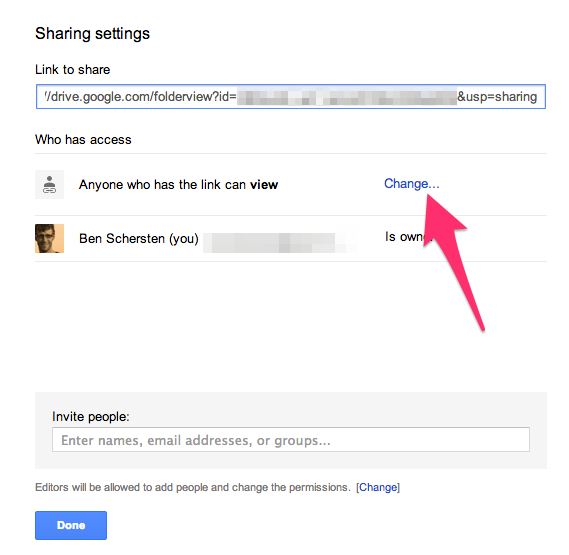
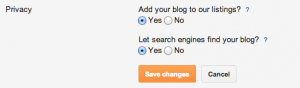
Change the privacy settings for the folder.
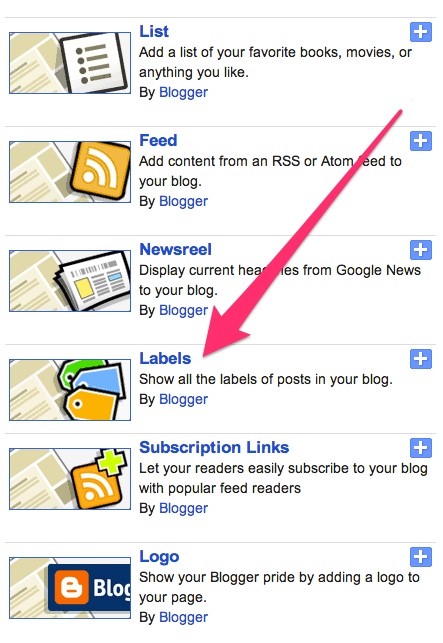
Select “Anyone with the link” and save.
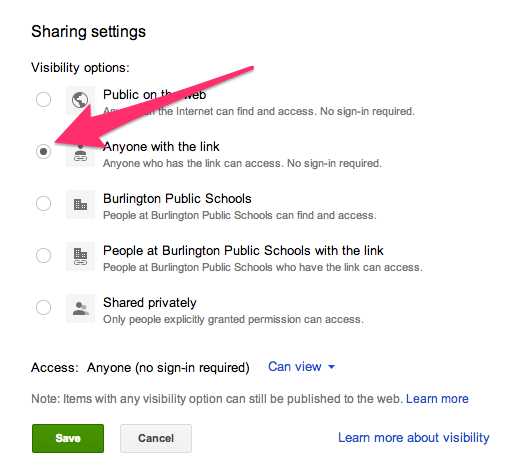
Now anythings that goes in this folder will be available for anyone on the web to see (if they have a direct link; they won’t be able to search for it). And since everything for you blog is going to be stored in a folder together you don’t have to worry about accidentally deleting something.
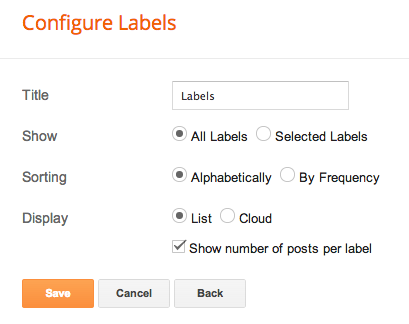
Step 2: Getting the Embed Code
Once your video is in Drive, open it up. It will default to a preview window. Click the Open button at the bottom. 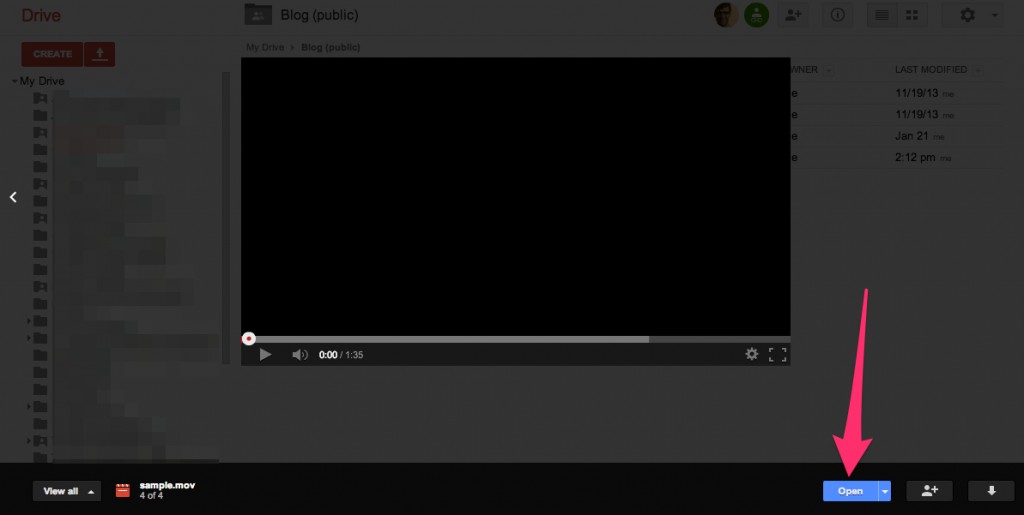
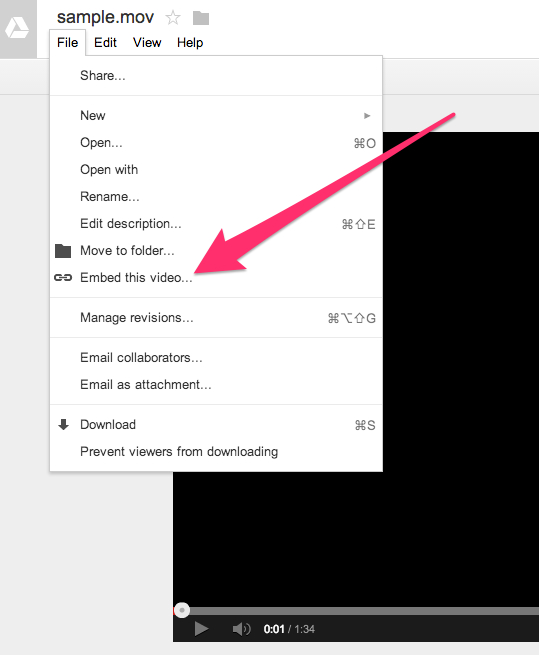
When the video truly opens, open the File menu and select “Embed this video..”
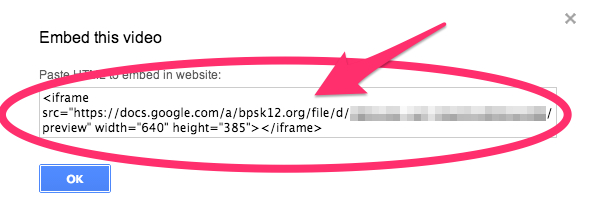
Then copy the code it displays to the clipboard.
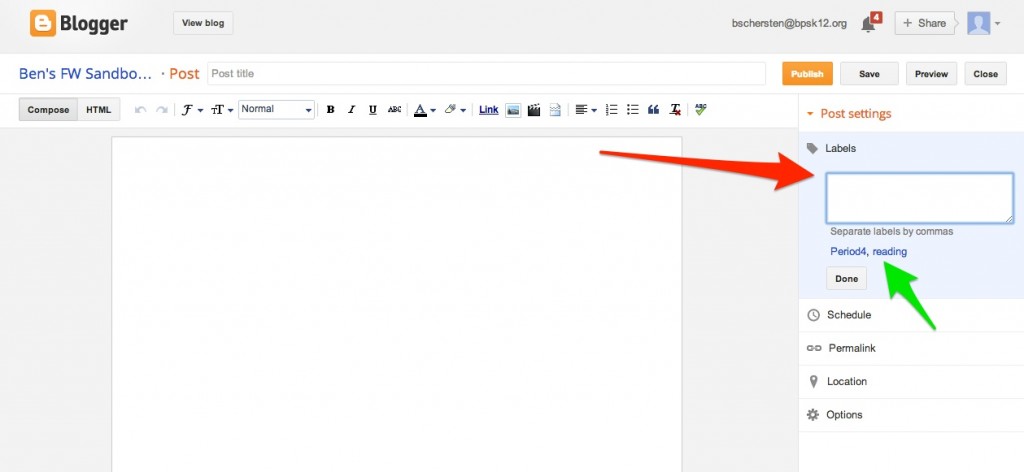
Step 3: Embedding Your Video in Blogger
Now, over to blogger.
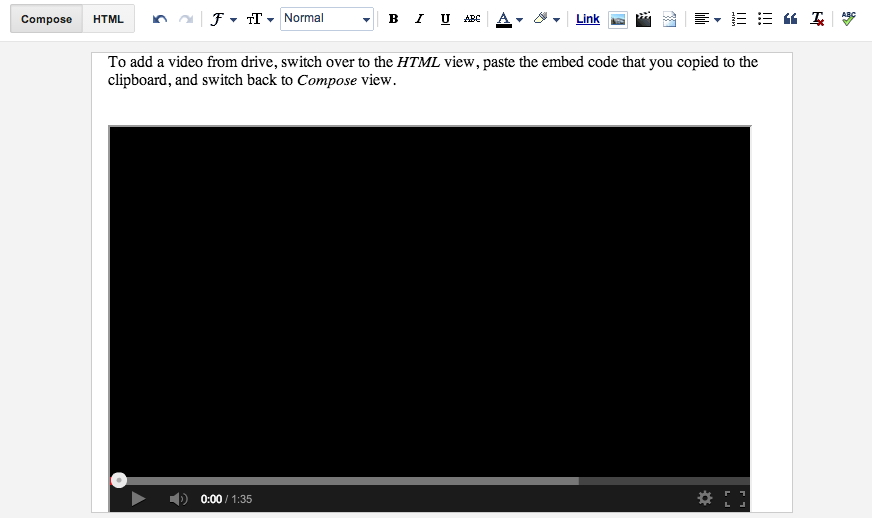
When you are creating/editing a post you have the option of the Compose view and the HTML view. You’re probably used to the Compose view.
Switch over to the HTML view.
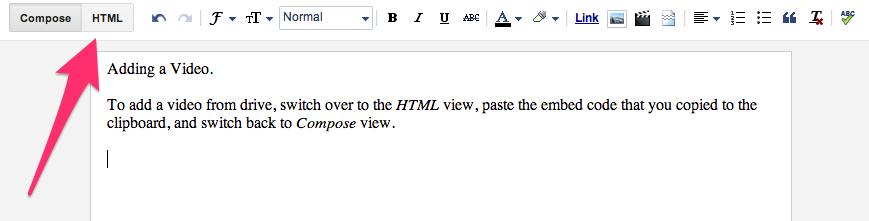
Paste the Embed Code. You can ignore the rest of the code; we’re just here to drop off the embed code.

And switch back to the Compose view. A video window will appear in your post.
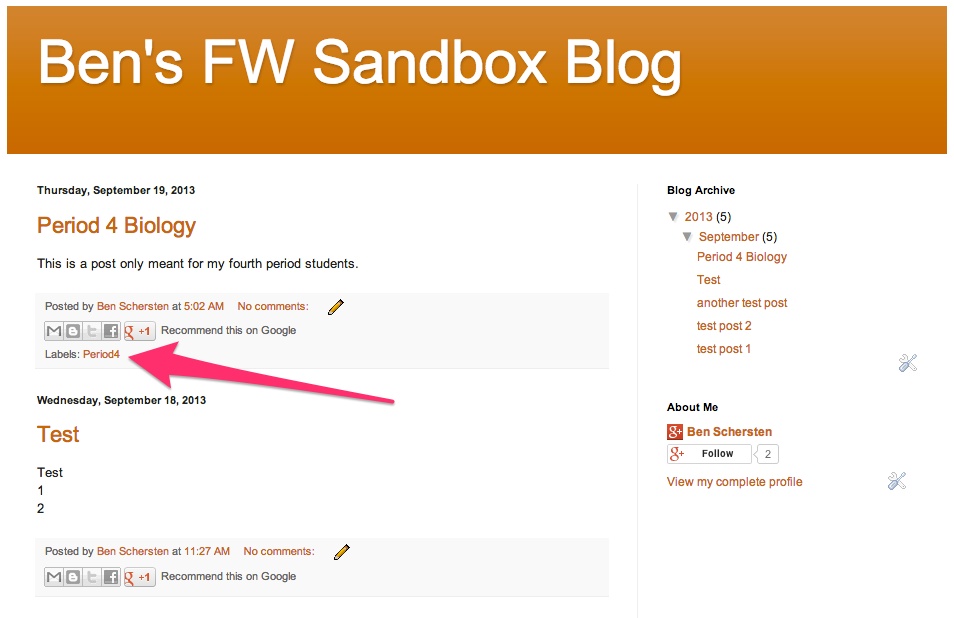
Your blog post has a video and you’re ready to publish!
Note 1: Yes, Blogger does have an option to upload a video directly to them, but I have yet to have consistent luck with that. It either doesn’t work, or the processing takes a prohibitive amount of time.
Note 2: This same embedding process also allows you to embed Google Drive documents, spreadsheets, PDFs etc in Blogger. However, instead of File -> Embed this video, you’re looking for File -> Publish to the web. From there you can grab the Embed Code.
 Somewhere, a loving parent takes a picture of their child with a smartphone and posts the picture online. Some nefarious individual gets a hold of the picture and hacks into it to figure out exactly where the picture was taken. The region finds itself in the grips of an Amber Alert.


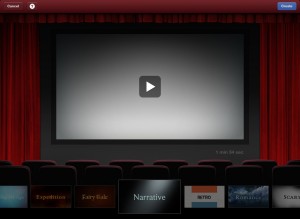 We started by talking about trailers and what they were for. All my students had seen them on TV and in the theaters. And a few even knew they were called trailers. From there we quickly previewed the trailer themes in iMovie. We then got the iPads out and kids got to spend more time looking at each trailer theme to choose the on that best fit them. I did have to spend some time explaining that the music and the text font were all they were going to keep; the content of the trailer would be completely rewritten by them.